Mastering Modern Calligraphy with Procreate Brush - Lettering Love 3
Digital lettering has transformed from a niche hobby into a vital skill for designers, entrepreneurs, and creative hobbyists alike. The ability to craft elegant, hand-drawn typography directly on an iPad offers unparalleled flexibility and speed. Among the myriad of tools available, Procreate Brush - Lettering Love 3 stands out as a specialized instrument designed to bridge the gap between traditional ink flow and digital precision. However, simply purchasing a high-quality brush set does not guarantee stunning results. Many users stumble not because of a lack of talent, but due to fundamental misunderstandings about how these digital tools interact with their hardware and workflow.
This guide explores the practical realities of using the Lettering Love 3 brush set. By addressing common pitfalls and offering corrective strategies, you can ensure that your investment translates into professional-grade graphics, quote designs, and wedding stationery.
Understanding the Tool’s Specific Purpose
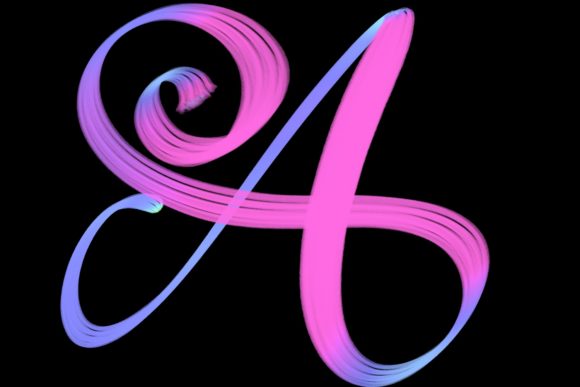
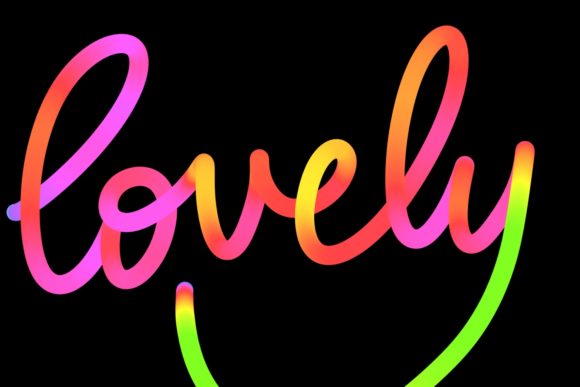
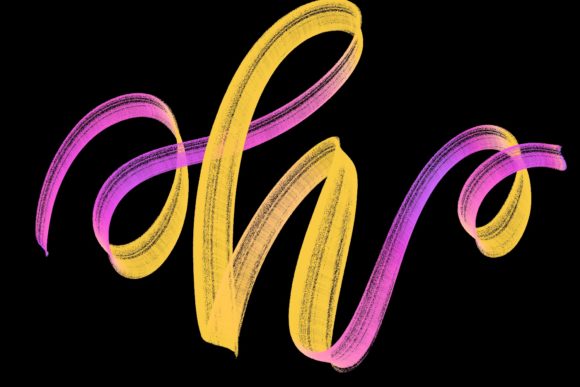
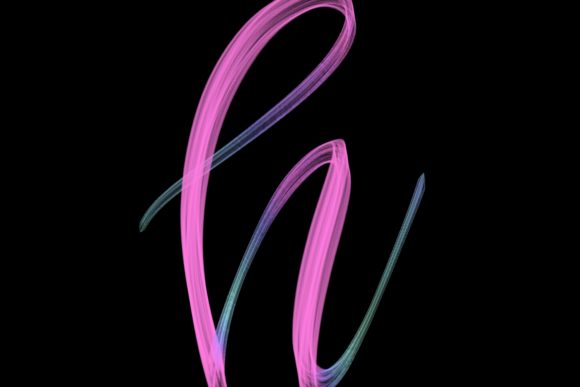
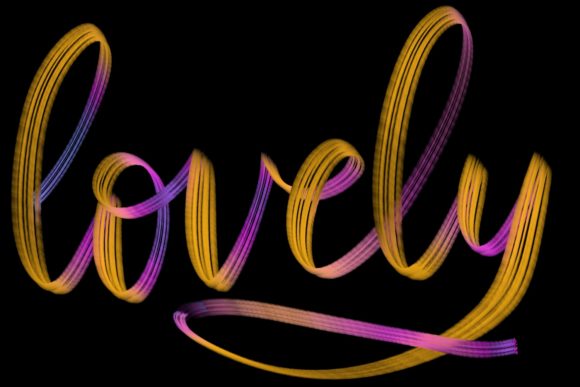
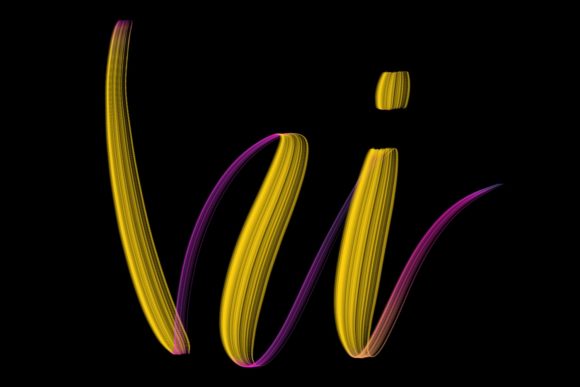
The Lettering Love 3 brush is hand-drawn and engineered specifically for modern calligraphy and lettering designs. It is not a general-purpose painting tool. Its primary function is to mimic the pressure-sensitive behavior of traditional dip pens and brush pens, allowing for thick downstrokes and thin upstrokes. This specific design makes it perfect for jazzing up your workspace and home through custom art, but it requires a respectful approach to its limitations and strengths.
Many beginners make the mistake of treating this brush like a standard marker or pencil. When used incorrectly, the output can look jagged, inconsistent, or artificially digital. To avoid this, understand that this brush set relies heavily on the velocity and pressure of your stroke. It is designed to create elegant letters that feel organic, not mechanical. If you are looking to create logos, greeting cards, or social media graphics, this tool provides the authentic human touch that vector fonts often lack.
Hardware Compatibility: The Most Critical Oversight
Perhaps the most frequent and costly mistake users make involves hardware compatibility. The Procreate Brush - Lettering Love 3 is strictly designed for the Procreate app on iPad devices equipped with a compatible pressure-sensitive stylus, such as the Apple Pencil. It is not suitable for Photoshop, Illustrator, or any computer-based software. Furthermore, it will not function correctly on iPads that do not support pressure sensitivity or with third-party styluses that lack fine-grained pressure data.
Why this matters: If you attempt to use this brush on an incompatible device or software, the variable width features will fail. You will likely end up with uniform, flat lines that lack the dynamic contrast essential for beautiful calligraphy. This leads to frustration and the false conclusion that the brush itself is poor quality.
The Better Approach: Before purchasing, verify your setup. Ensure you are running Procreate 5 or above on an iPad Pro or a compatible iPad model that supports the Apple Pencil. Check your stylus settings within the app to confirm that pressure sensitivity is enabled and calibrated. If you are using an older iPad or a non-Apple stylus, consider whether your hardware can truly support the nuanced input this brush requires. Investing in the right tool is only half the battle; having the right canvas is equally important.
Neglecting Canvas Resolution and DPI Settings
Another common error occurs at the very beginning of the project: setting up the canvas. Digital calligraphy demands high resolution to maintain crisp edges, especially when the final design is intended for print, such as wedding stationary or large-format home decor. Users often start with a default, low-resolution canvas, assuming they can scale up later.
The Consequence: When you enlarge a low-resolution lettering piece, the edges become pixelated and blurry. The delicate tapering of the Lettering Love 3 brush strokes loses its elegance, resulting in a amateurish appearance. This is particularly detrimental for entrepreneurs selling printed goods, where quality control is paramount.
Practical Advice: Always start with a canvas size that matches your final output dimensions. For print projects, set your DPI (dots per inch) to at least 300. For digital-only use, such as Instagram quotes or blog headers, 72 DPI is sufficient, but higher resolutions provide more flexibility for cropping and editing. By setting these parameters correctly from the start, you preserve the integrity of every curve and flourish created by the brush.
Overlooking StreamLine and Stabilization Features
Digital lettering differs from paper because the screen creates frictionless movement, which can lead to shaky lines. A frequent misunderstanding is that steady hands are solely a matter of practice. While practice is essential, Procreate offers built-in tools to assist with stability, yet many users ignore them.
The Lettering Love 3 brush performs best when paired with appropriate StreamLine settings. StreamLine smooths out your strokes by adding a slight delay, effectively filtering out hand tremors. Without this adjustment, even experienced artists may find their curves look jittery or uneven.
How to Optimize: Navigate to the brush settings and adjust the StreamLine value. For slow, deliberate calligraphy, a higher StreamLine percentage (around 15-20%) can help achieve smoother, more fluid lines. For faster, expressive lettering, a lower setting allows for more immediate response. Experiment with these settings to find the balance that feels natural to your hand. This small tweak can dramatically improve the professionalism of your work without requiring months of additional practice.
Misusing Layers for Editing Flexibility
One of the greatest advantages of digital art is non-destructive editing, yet many users flatten their work too early or draw everything on a single layer. When using Procreate Brush - Lettering Love 3, it is tempting to write a whole quote on one layer. However, this limits your ability to correct mistakes or adjust spacing later.
The Impact: If you make an error in a single-letter on a flattened layer, you must erase and redraw the entire word or use complex selection tools that may disrupt the surrounding pixels. This inefficiency slows down your workflow and increases the likelihood of frustration.
Best Practice: Use separate layers for different elements of your design. Keep your sketch on one layer, your final lettering on another, and any decorative flourishes or background elements on additional layers. This organization allows you to move, resize, or adjust the opacity of individual letters without affecting the rest of the composition. It also makes it easier to experiment with different colors or blending modes for your text, enhancing the visual impact of your greeting cards or logos.
Ignoring the Versatility of the Brush Set
Finally, some users underestimate the range of applications for the Lettering Love 3 set. While it is optimized for calligraphy, its hand-drawn texture makes it versatile for various graphic design tasks. Limiting its use to simple quotes overlooks its potential for creating unique logos, branding elements, and textured overlays.
Expanding Your Use Cases: Try using the brush to add handwritten annotations to photographs, create custom watermarks for your business, or design intricate monograms. The organic texture of the brush adds warmth and personality to digital designs, making them stand out in a sea of generic templates. By exploring these diverse applications, you maximize the value of your purchase and enhance your creative toolkit.
In conclusion, the Procreate Brush - Lettering Love 3 is a powerful asset for anyone looking to elevate their digital lettering. By ensuring hardware compatibility, setting up your canvas correctly, utilizing stabilization features, organizing your layers, and exploring diverse applications, you can avoid common pitfalls and produce work that is both elegant and professional. Remember, the tool is only as good as the understanding behind its use. Take the time to learn its nuances, and it will serve as a reliable partner in your creative journey.